• Home
  • About Me
    • A Simply Raw Life
    • Donuts, Dresses, and Dirt
    • Oh Joy
    • david lebovitz
    • My Life at Playtime
    • Design Mom
    • Curbly
    • AltDesign
    • Peggy Wong
    • A Golden Afternoon
    • Eat, Drink + Be Merry
    • Dylan and Jeni Photography
    • Route 66
    • Cuba A Bittersweet Tale - Part I
    • Cuba A Bittersweet Tale - Part II
    • Cuba A Bittersweet Tale - Part III
    • Cuba A Bittersweet Tale - Part IV
    • Cuba A Bittersweet Tale - Part V
    • Cuba A Bittersweet Tale VI
    • Cuba A Bittersweet Tale - Part VII
    • Cuba A Bittersweet Tale - Part VIII

itsweet & savory itsweet & savory

  • Home
  • About Me
  • Favorites Places
    • A Simply Raw Life
    • Donuts, Dresses, and Dirt
    • Oh Joy
    • david lebovitz
    • My Life at Playtime
    • Design Mom
    • Curbly
    • AltDesign
    • Peggy Wong
    • A Golden Afternoon
    • Eat, Drink + Be Merry
    • Dylan and Jeni Photography
  • Travel Stories
    • Route 66
    • Cuba A Bittersweet Tale - Part I
    • Cuba A Bittersweet Tale - Part II
    • Cuba A Bittersweet Tale - Part III
    • Cuba A Bittersweet Tale - Part IV
    • Cuba A Bittersweet Tale - Part V
    • Cuba A Bittersweet Tale VI
    • Cuba A Bittersweet Tale - Part VII
    • Cuba A Bittersweet Tale - Part VIII
VerticalChPBBars.jpg

Chocolate Peanut Butter Bars

VerticalChPBBars.jpg

So a while back I made these Chocolate Peanut Butter bars for a book swapping party here. Since then I've made them a few more times and am now getting to a place where I'm perfecting the recipe. Plus I had a good excuse this week as I was commissioned to create these for a photo style shoot my friend Deb was doing with VivaVantage paper towels.

Seriously Chocolate AND Peanut Butter, I think this probably goes down as my favorite flavor combo. It's like making sure you have two things that match, makes me think of this quote from the movie Friday when Chris Tucker is looking for something to eat, "No sugar? Y'all ain't never got two things that match. Either y'all got Kool-aid, no sugar. Peanut butter, no jelly. Ham, no burger." And now we can add "peanut butter no chocolate." Accept we have BOTH. Here's the recipe with a few of my notes on what I have found that works best and a note on what I 'll do the next time around. And don't be afraid that it's 3 layers, it's really not that hard to make.

ChocPeanutButterBars_Ingredients.jpg

Chocolate Peanut Butter Bars

Ingredients Bottom Layer

1/2 cup unsalted butter

1/4 cup sugar

5 tbsp unsweetened cocoa (I use Valhrona)

1 egg, beaten

1 1/4 cups graham cracker crumbs

3/4 cup coarsely crush pretzels (I find the thinner salted versions work better than the thick ones - I only had the thick ones for the shoot above, but that's my lesson learned)

Directions

If you have a double boiler use that to melt the butter, sugar and cocoa.  I use a metal bowl over a lightly simmering pot of water (water should not touch the bowl).

While bowl is still over the water, add the beaten egg a little at a time until the mixtures thickens.

Remove bowl from the heat and add the graham cracker crumbs and crushed pretzels. After they are well mixed press the crumbs into a flattened layer an 8x8 cake pan. I use square non-stick baking pan and line it with two pieces of parchment paper crisscross, this makes it easier to get the bars out of the pan for cutting the squares.  Set this aside while you start the middle layer.

Middle Layer Ingredients

1/2 cup unsalted butter, melted and slightly cooled.

2/3 cup powdered sugar, sifting this first is good to get any clumps out.

1 cup smooth, natural peanut butter (no salt added) I like Laura Scudder's.

1/2 tsp salt (only use if you bought unsalted PB, otherwise adjust to taste.

1 tsp vanilla

Directions

Add peanut butter and melted butter together in a small bowl, mix in sugar, salt and vanilla until it forms a thick paste. Now it's time to add the peanut butter over the bottom layer of chocolate pretzel goodness. I have thought about doubling the peanut butter layer as I'd like a bit more thickness, so I might try that next time. Now put all of this in the refrigerator while you make the final Top layer. This way the peanut butter has time to get a little stiff, otherwise it's hard to spread the final chocolate layer on top.

Top Layer Ingredients

5 oz. semi sweet chocolate chips (I love bittersweet or just straight dark chocolate bars for this layer, but use any fine chocolate you like)

1 tbsp unsalted butter

Pink Himalayan salt (or any fine sea salt)

Directions

Again if you have a double boiler use that to melt the chocolate and butter.  I use a metal bowl over a lightly simmering pot of water (water should not touch the bowl). Stir until smooth.

Now take the pan from the refrigerator and pour the chocolate mixture over the peanut butter layer and spread it evenly. Then return to the refrigerator about 10 minutes. (top should be a little soft still). Sprinkle light with the Himalayan salt and return the the fridge and let it completely cool until it becomes hard.

Take out the parchment papered bars and cut into squares or rectangles. I've done both and wrapped them in paper with twine for a special presentation, but it's faster to just cut in and eat it, sooooo good. I have a batch in my fridge now that I keep gnawing at, enjoy this perfect match of flavors.
Itss_ChocPeanutButterBars.jpg
Download Recipe PDF
Related Posts Plugin for WordPress, Blogger...

Posted in Bake, Baking, Food, Sweets, Things, Make and tagged with chocolate peanut butter bars, peanut butter, chocolate, sweets.

February 13, 2014 by Tanya Ponce.
  • February 13, 2014
  • Tanya Ponce
  • chocolate peanut butter bars
  • peanut butter
  • chocolate
  • sweets
  • Bake
  • Baking
  • Food
  • Sweets
  • Things
  • Make
  • 1 Comment
1 Comment
San Pedro.JPG

San Pedro Mini City Guide

San Pedro.JPG

Giving you all a quick break from Cuba and focusing on a cool SoCal city. Recently I spent a week in San Pedro, while i wasn't exactly a tourist, I did get to spend time in the area with quite a few of the locals.  I have to say I've driven to this city several times on my pacific coast highway adventures.  But this is the first time I really hung out in the area. Gaffey seems to be the main thorough fare from where the 110 ends at the coast.  South of Gaffey seems to be a lower income area and flatter to walk.  North of Gaffey you start getting more houses and less apartments, also at the top of hills up you can see the San Pedro harbor, I really never got tired of this view.

Views of the Harbor.jpg
Baja Fish.JPG

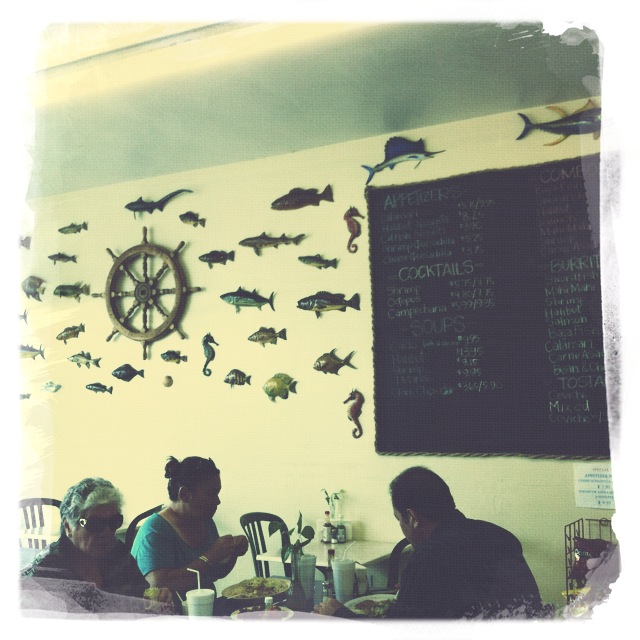
So I found out that there are lots of Italian and Croatian's living here, purely because at one time this was a fishing town. Back in the day there were up to 70 commercial boats in the harbor, now merely 12. So of course you'd expect to find some good fish in the area. Our friends took us to a place on Gaffey called Baja Fish, small place tucked in between a few other places. They had salmon and various fish tacos served with beans and rice, all very good. I'd go back to this place for sure, everything tasted fresh.

Baja Fish

611 S Gaffey St

San Pedro, CA 90731

Peacocks.jpg

While walking thru one of the neighborhoods I was startled to see a peacock on top of someones garage. Then they told me there are all over the area.  This was so bizarre to me, but seriously I saw about 25 Peacocks mostly male but I saw a few females and their chicks. It was a bit misty in the area and their calls were haunting, I felt like I was at a wild animal park.  The history goes that peacocks where gifted to the Vanderlip family and Estate which is in the area. There are quite a few in this neighborhood of San Pedro and Portuguese Bend in Palos Verdes.

Amalfitano.jpg

Along with great fish in the area I also found an amazing Italian bakery. A few locals told me about the place.  I went in and asked what the favorites were and they pointed to the treats below: Rum Ball, Almond Cresent and Cannoli.

Amalfitano

9111 S Western Ave,

Rancho Palos Verdes, CA 90275  

Amalfitano Treats.JPG

Oh my goodness, I took a bite of that rum ball on my drive home with coffee and I have been dreaming about it ever since. Dark chocolate covered rum infused cakey texture with just enough to not get pulled over for a DUI. I can't wait to go back.

CornerStore.jpg

Walking again in another neighborhood one of the locals pointed out this Corner Store, she loves to go here for breaks and raves about the lemon bars.  We took a quick stop had a few sandwiches, sodas and took some baked goods home. This is going to be a place I come to all the time, I would have never found it had I not been with a local. This is the best way to find out about these special little places. Some of my best dining experiences have been when I asked a local for a recommendation.

Corner Store

118 W 37th St  

San Pedro, CA 90731

Music at Corner Cafe.JPG

At the Corner Store they have live music. On this day these guys were playing a few old tunes. The harmonica player was funny, he stopped playing for a minute to tell me he liked my hot pink shoes.  

Corner Store Interior.JPG
Menu Board.JPG

Nothing fancy here, but feels like a family joint.  Simple fair with an easy-going vibe. 

Italian Stallion.JPG

We order the Italian Stallion: grilled chicken breast with provolone cheese, mayo, sicilian bruschetta on ciabatta roll. Tasty goodie.

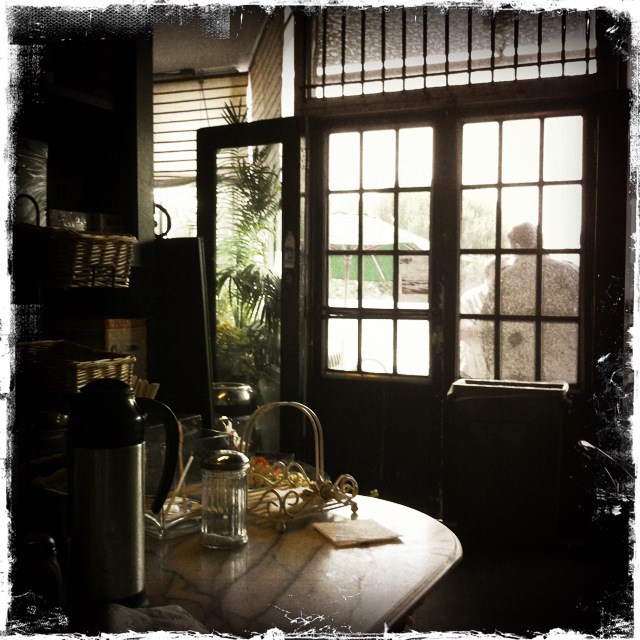
Corner Store Door.JPG

Loved this view from the table.

Sodas.JPG
Flowers at the Corner Store.JPG

They have a wide range of sodas in every flavor imaginable.  You can even take some flowers home. 

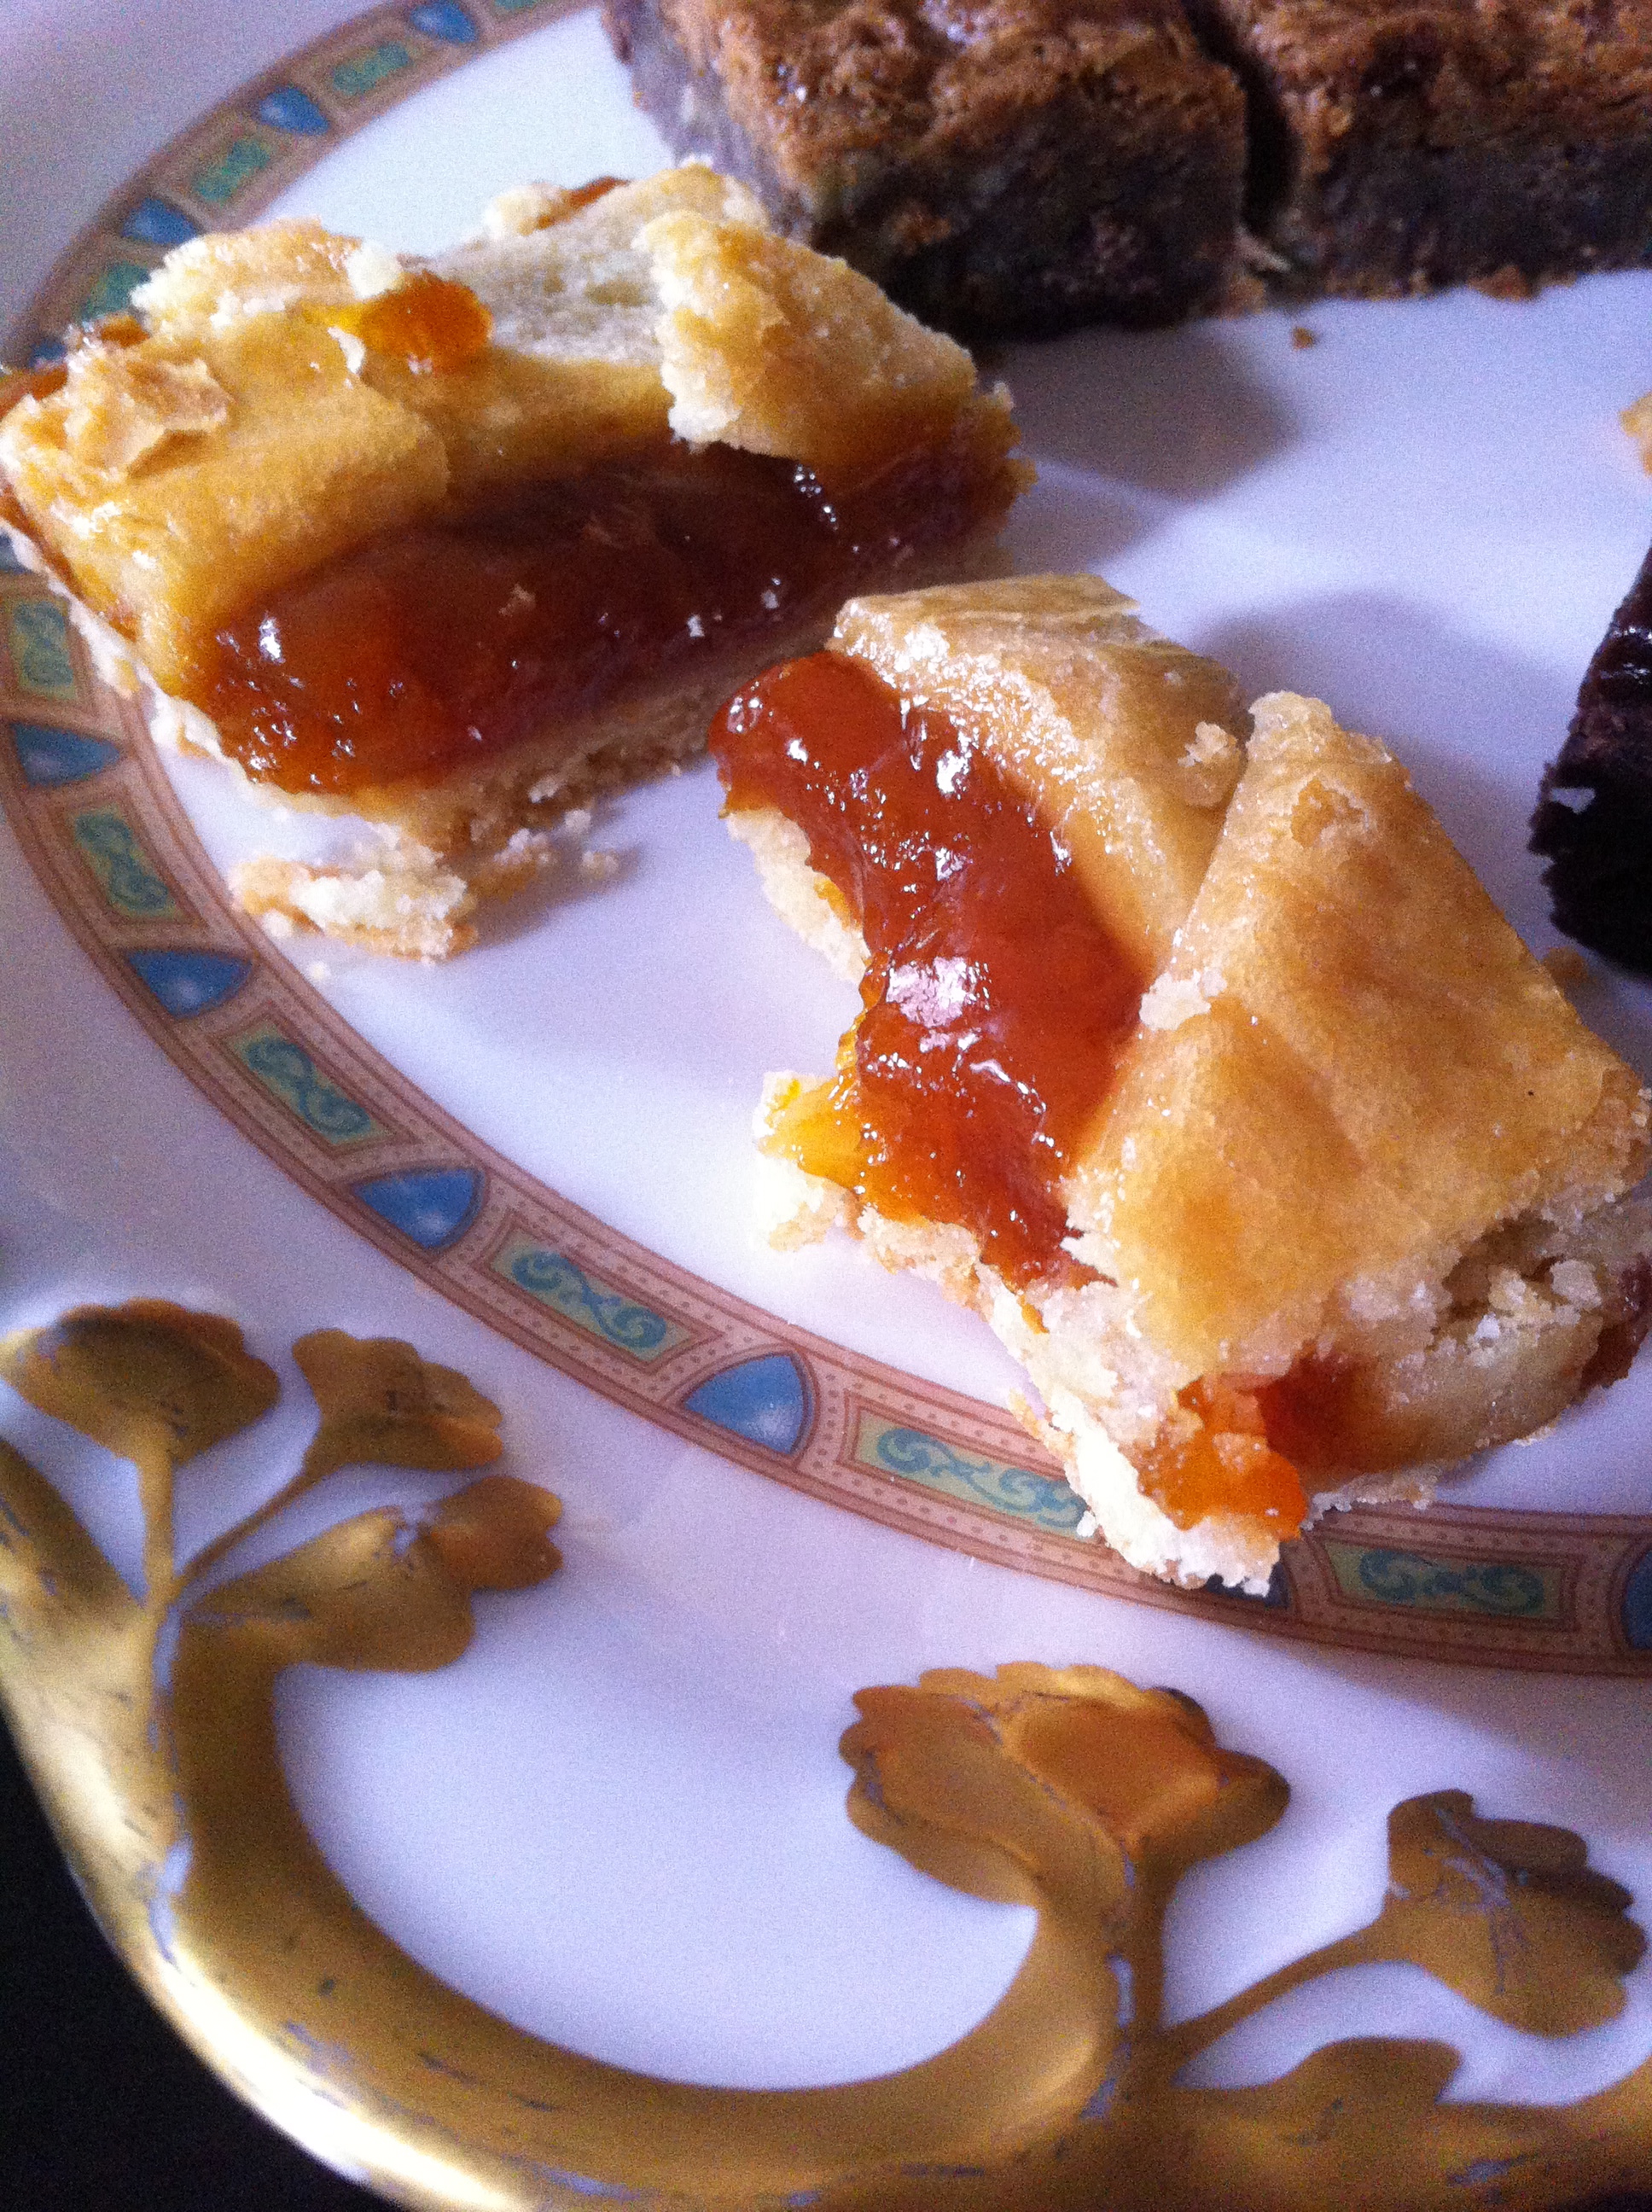
Corner Store Treats.JPG

My friend insisted we take home some sweets, she order a Brownie, Apricot tart and Butterscotch Blonde. Wow were these delicious. Rob preferred the brownie. I was partial for the apricot tart, but the brownie was my second favorite. Again this is a place I'd returned to and hopefully very soon. Take a day and go explore this great little area. The views are great and I saw a few hiking trails along the coastal line with a historical lighthouse and park nearby. Enjoy!

Apricot Goodness.jpg
Related Posts Plugin for WordPress, Blogger...

Posted in Food, Life, US City, Travel and tagged with food, corner store, amalfitano, san pedro, palos verdes, sweets, life.

June 23, 2013 by Tanya Ponce.
  • June 23, 2013
  • Tanya Ponce
  • food
  • corner store
  • amalfitano
  • san pedro
  • palos verdes
  • sweets
  • life
  • Food
  • Life
  • US City
  • Travel
  • Post a comment
Comment
ChocBark Finale.jpg

Chocolate Bark

ChocBark Finale.jpg

I'm in the process of creating all kinds of treats and decor for an upcoming event. Most anything special involves chocolate for me. Once during the hottest day of summer I decided to make my own chocolate truffles, what a mess, they were delicious, but my white kitchen had chocolate in places I didn't think were possible.  The weather is still nice here in L.A. so I think I'm safe to try my hand at this chocolate creation.

A reader once asked me whether I tempered my chocolate while making one of my recipes. I never have done this and wasn't sure why I needed to. So I went to doing my research on why and how. The best explanation and easiest recipe was found here, David Lebovitz is the blogosphere master of chocolate in my humble opinion.

Follow his recipe and use a proper thermometer, David suggest this one at Amazon, Chocolate Tempering Thermometer, ​if only I had this, it would have been much easier. But I made due with the one I had and well eyeballed it and tasted along the way. So far the chocolate has held up.

ChocBark chips.jpg

Use dark chocolate bittersweet chips no more than 70% cacao is suggested.  I bought these at Surfas, in Culver City, California. But you can find decent chocolate in your local grocery store.

ChocBark melted.jpg

Melting and temperature checking. So hard not to take spoonfuls of this along the way. That is so not the right thermometer, try the one that David recommended on the link above.

ChocBark fixings.jpg

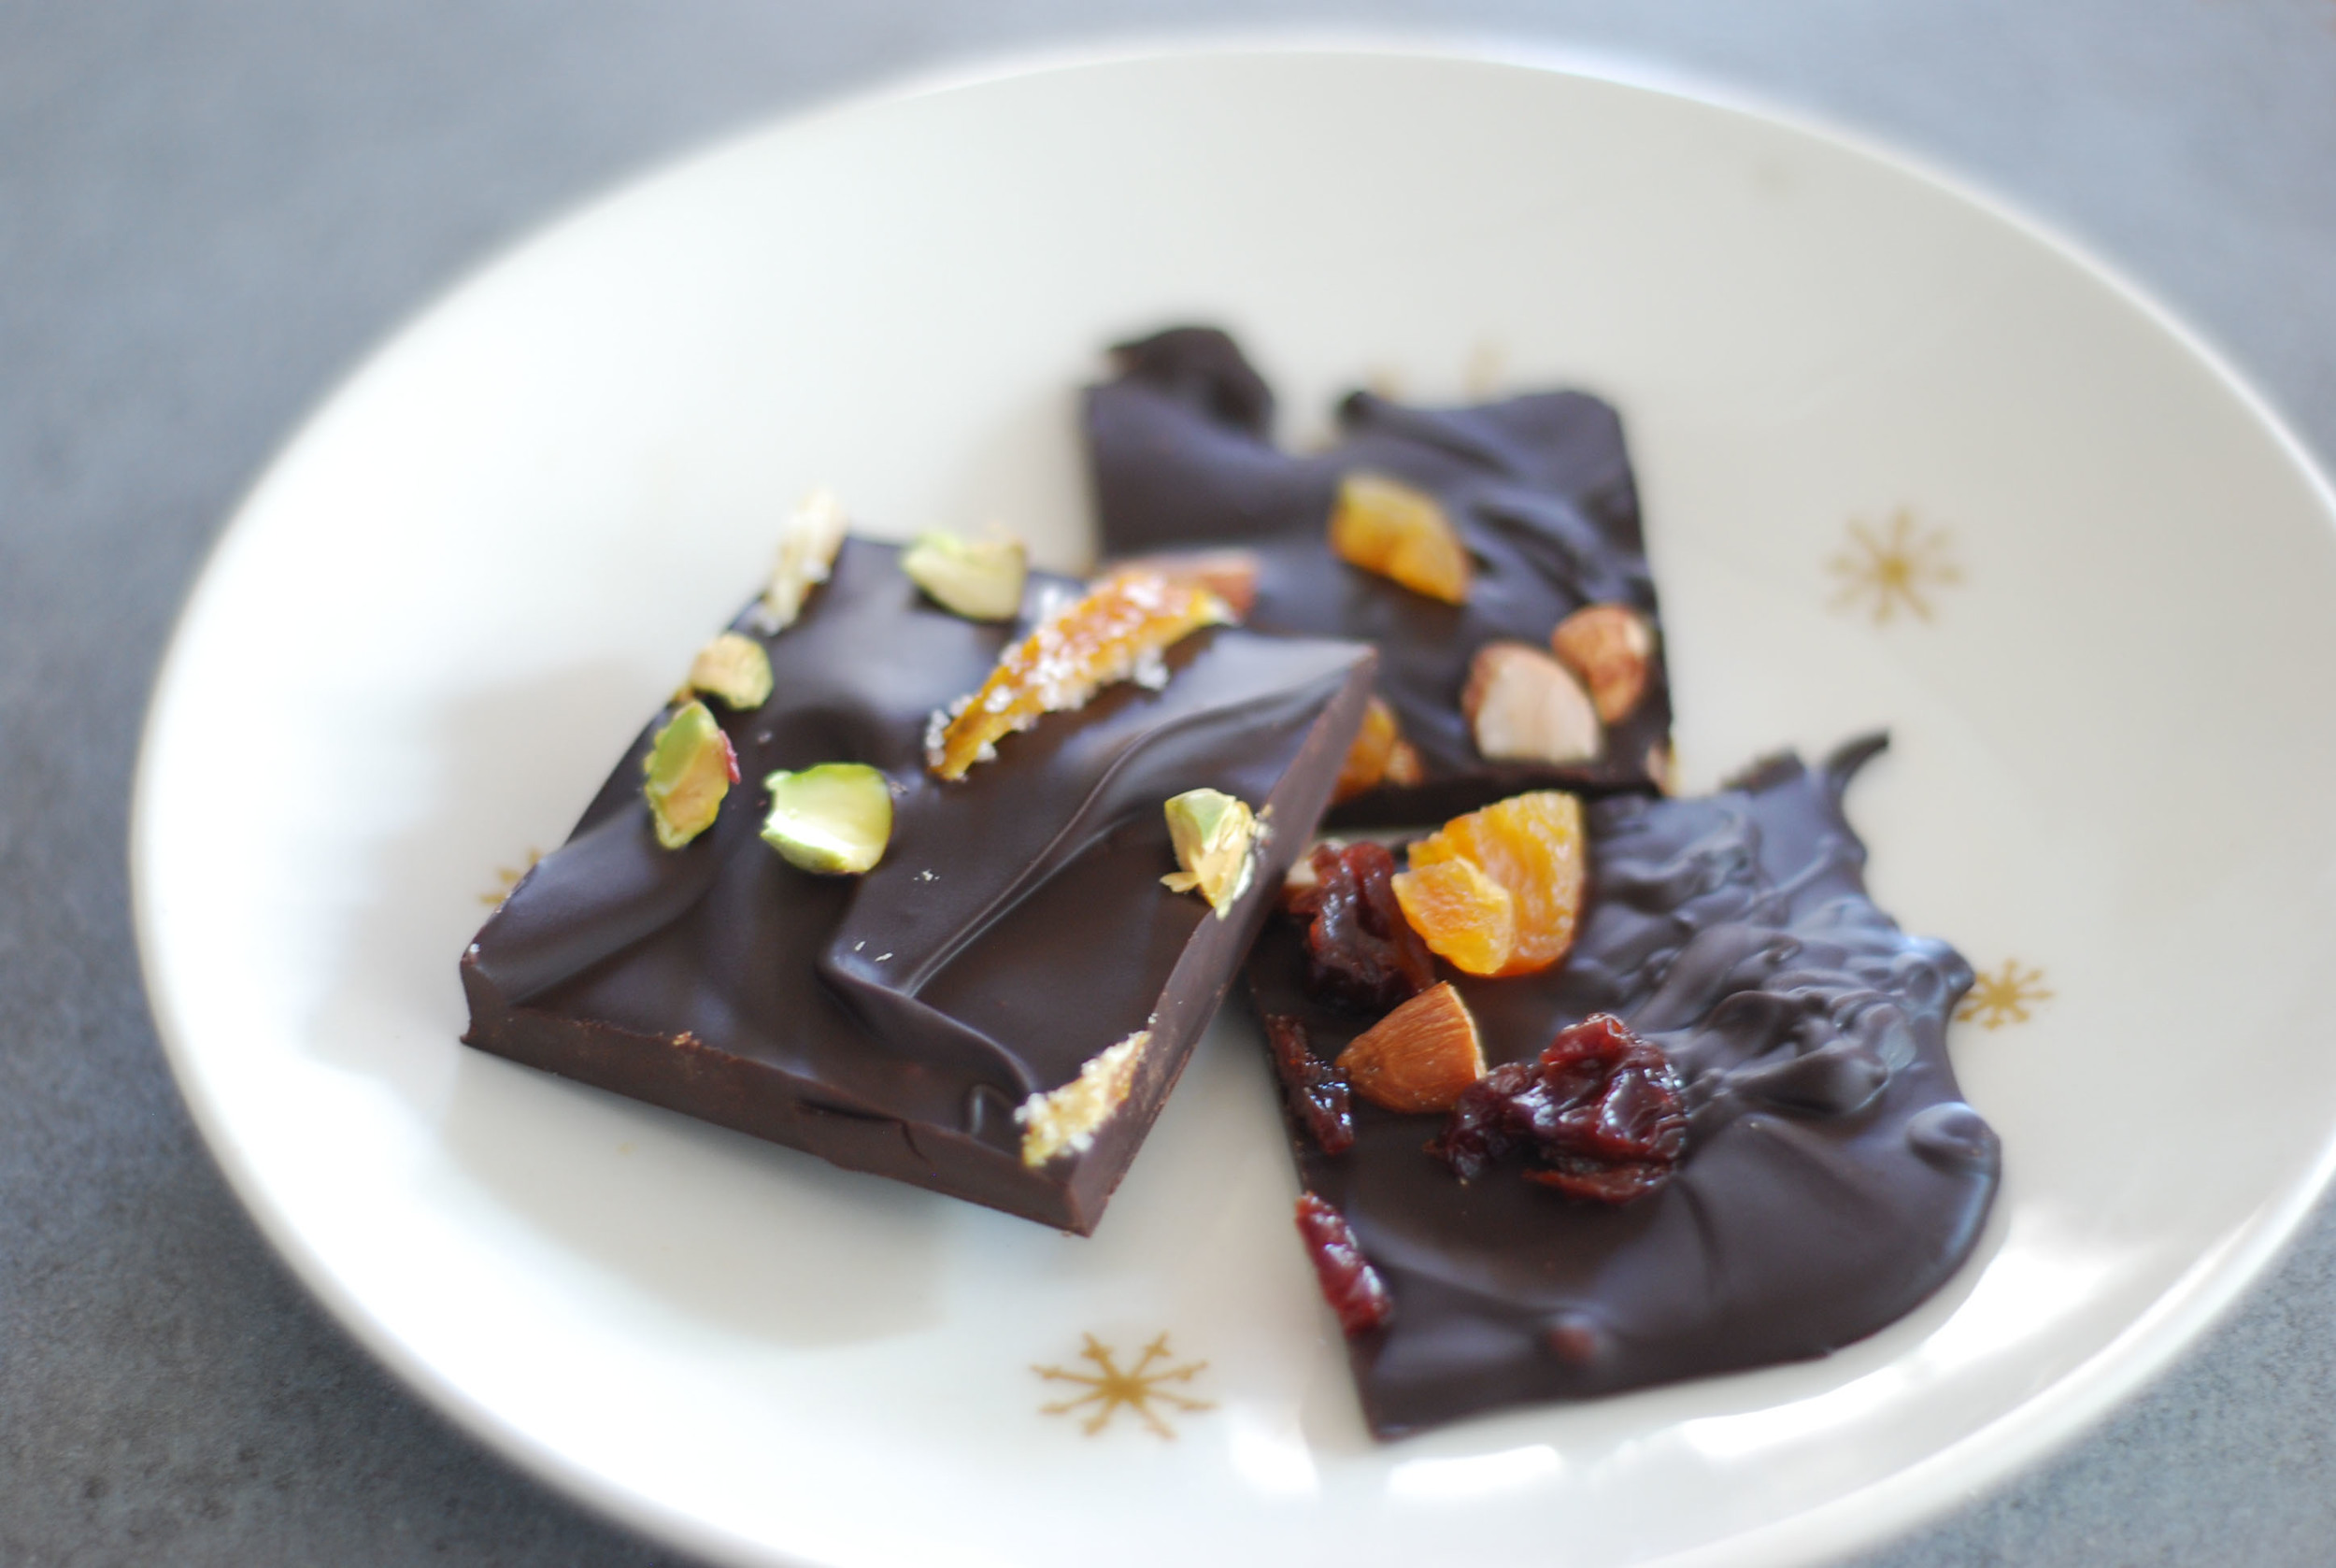
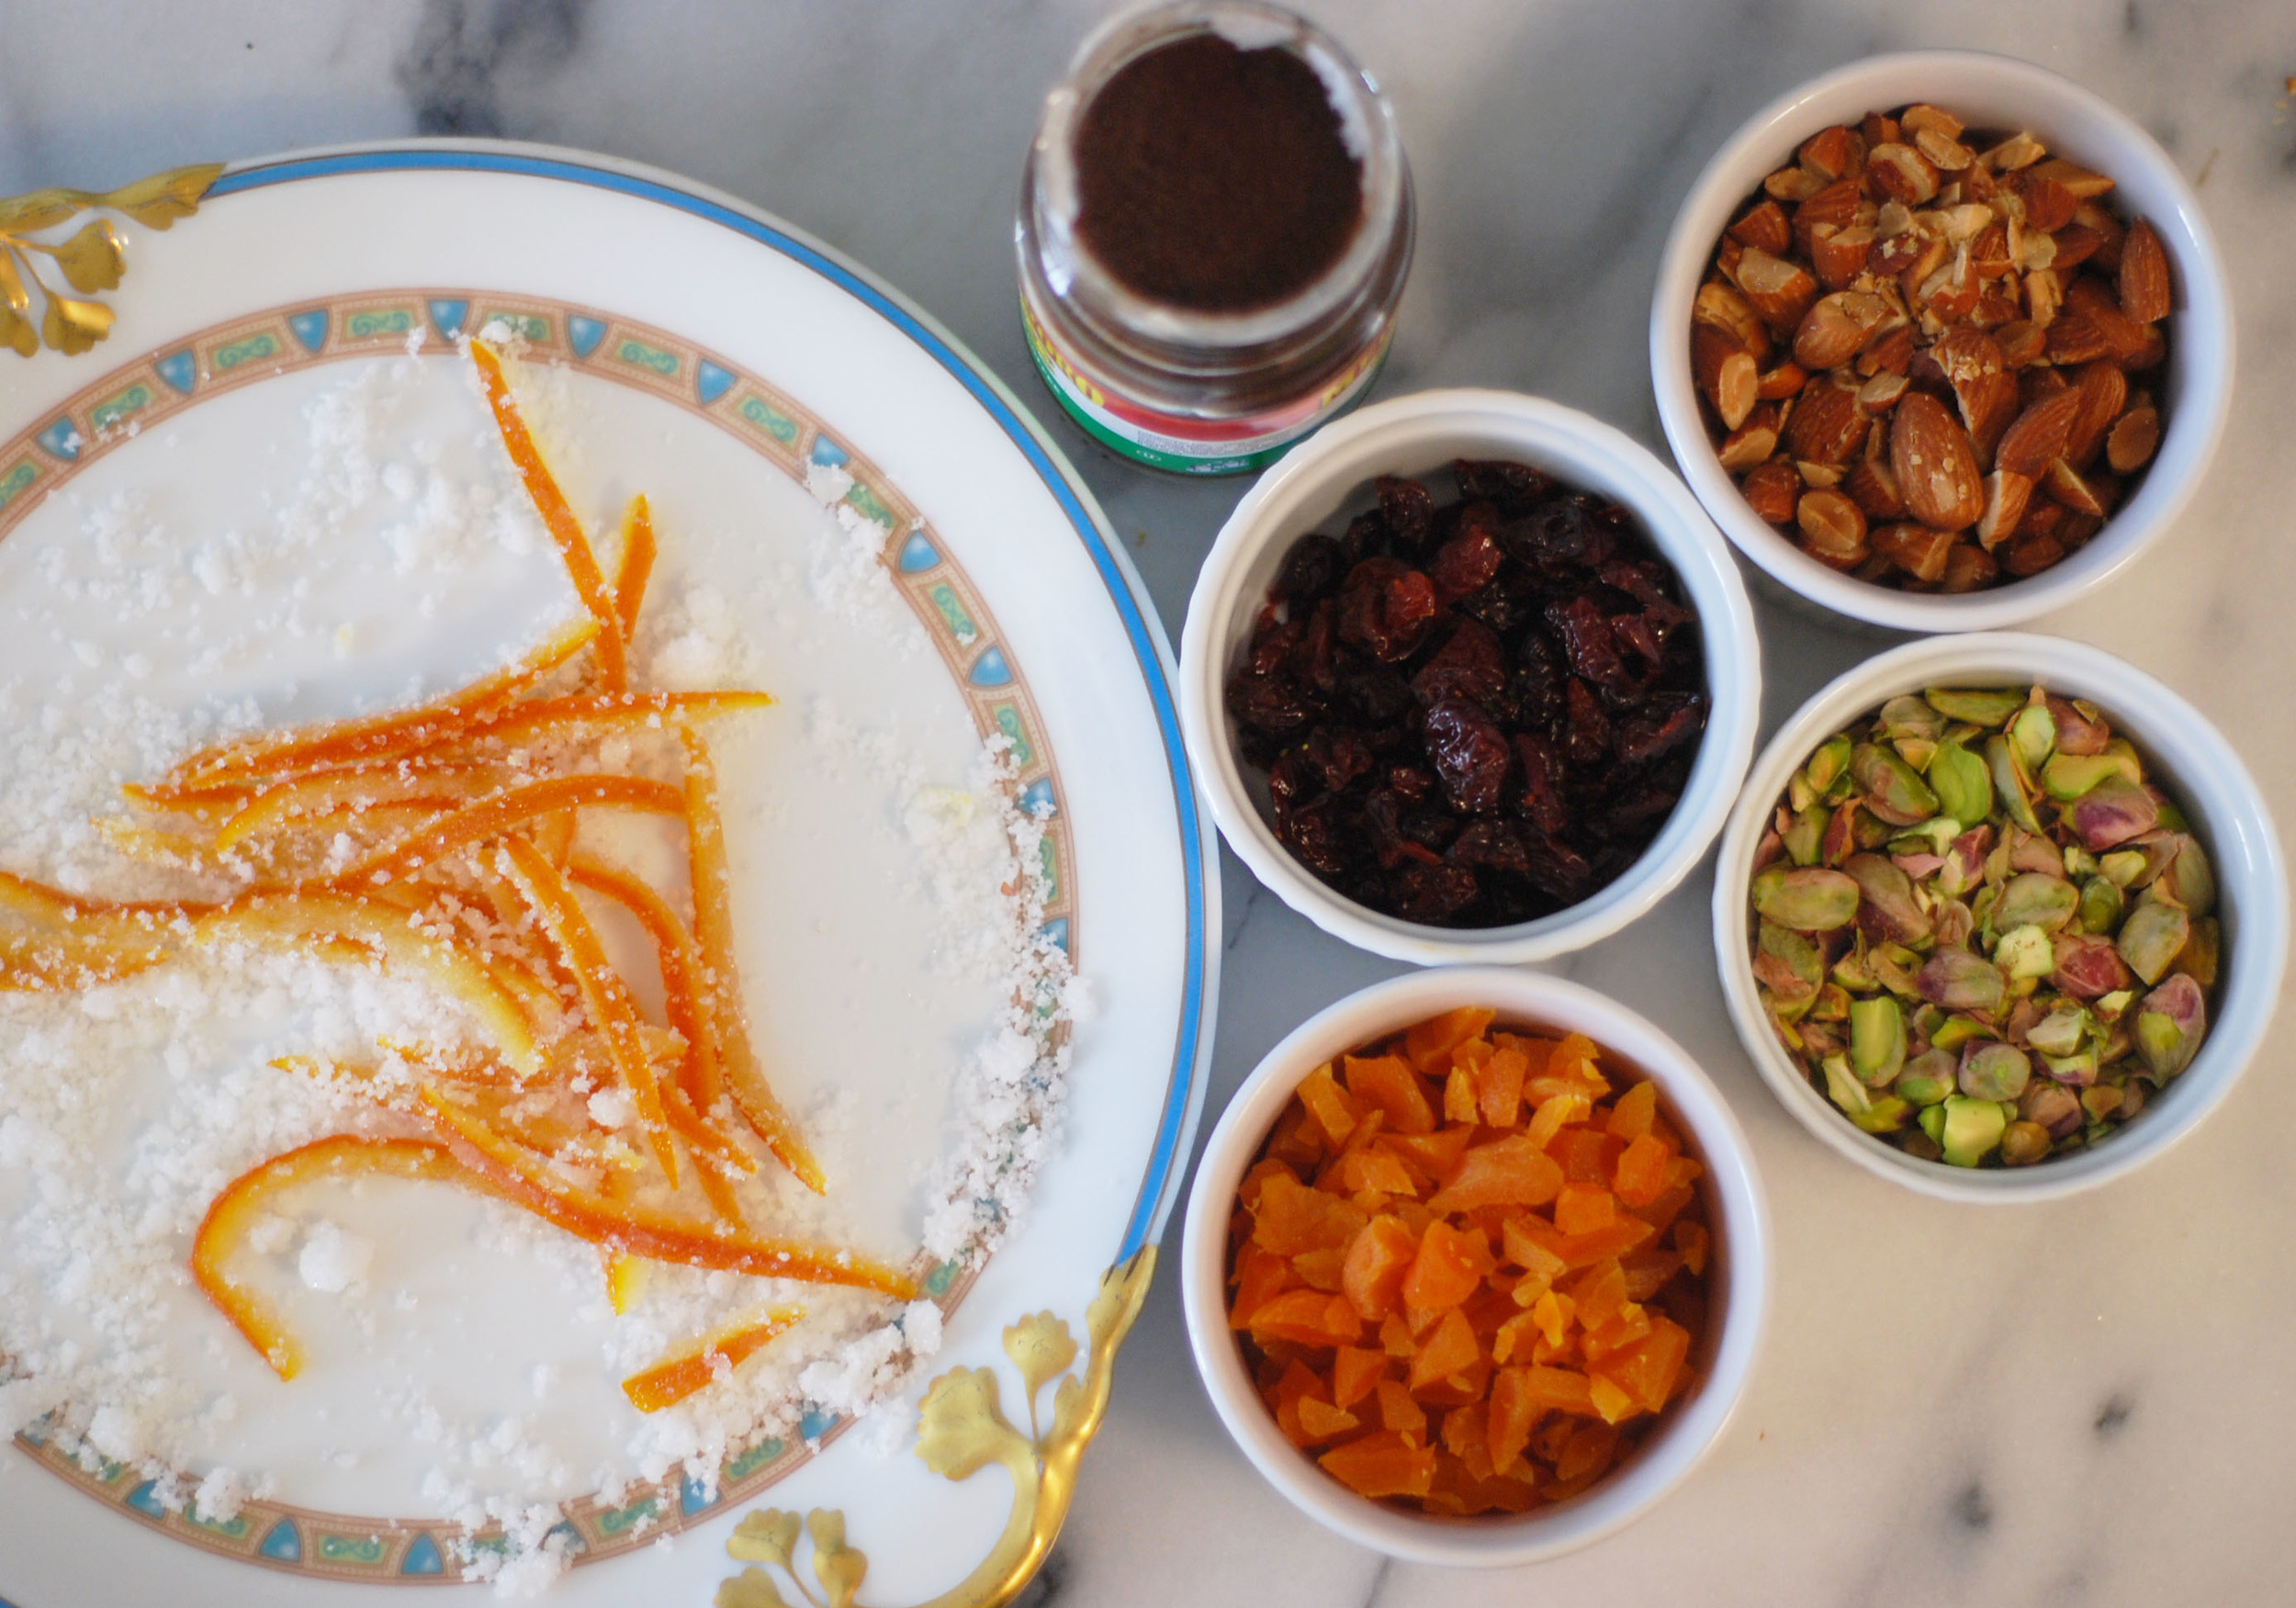
​Here are the ingredients for my chocolate bark. I did a few batches of chocolate. One where I stirred in a tablespoon of instant espresso coffee and then added in the toasted almonds and a few dried cherries.  Of course I used my candied orange peels and pistachio for another version and finally added in apricots, cherries and almonds for a final version. Use whatever ingredients you like, pick your favorites I like to make sure to add some color so I tried to use a variety.

ChocBark layout.jpg

Here's where you get to smear the chocolate. I used a small 1/4 cooked sheet with parchment paper on the bottom. I smeared the chocolate out and started laying in my fixings, you need to work quickly before the chocolate starts to harden. Candied orange peels and pistachios for this batch.​

ChocBark finished1.jpg
ChocBark finished2.jpg

Let it cool in the refrigerator for about 15 minutes and then it's ready for breaking into pieces and eating right away, in my case i saved these for an event and will package them up the day before.

ChocBark plate.jpg

Voila, all done, delicious and beautiful. I can't wait to share these with my friends. Enjoy!

Related Posts Plugin for WordPress, Blogger...

Posted in Baking, Bake, Food, Make, Sweets and tagged with chocolate, sweets, chocolate bark.

March 27, 2013 by Tanya Ponce.
  • March 27, 2013
  • Tanya Ponce
  • chocolate
  • sweets
  • chocolate bark
  • Baking
  • Bake
  • Food
  • Make
  • Sweets
  • Post a comment
Comment
Lemon Loaf Wraps.jpg

Lemon's

Lemon Loaf Wraps.jpg

We have a saying in my house, "when life hands you lemons, make lemonade." Seriously, sometimes we can't get a break, ever, financially that is. Living from pay check to pay check is such a drag especially at our age, but we've made sacrifices in our life so this is what we chose. "It's not a sacrifice unless you sacrifice." Yes we live this everyday.

Lemon Carnage.jpg

Enough of my self pity and on to lemon's. They are in season now and we have vowed not to buy lemons. This is because we have at least three friends with lemon tree's, including a Meyer lemon tree, so we are well supplied.

We received a generous bag of lemons, While I was away in Salt Lake City for the AltSummit they were starting to really ripen (next step is green mold). Upon my return I went to the recipe books and idea's.

On top of the supply of lemons we received a gift of mini loaf pans, a Madeleine pan and a few other baking goodies. All my friends know I love to bake, plus they know I usually give more then half of it away. I like the process of baking, it's relaxing. I love to have a movie on in the background and the smells bring up good childhood memories.

Lemon Loaves.jpg

Here's a few of my recipe's and images from my lemon baking Super Bowl Sunday. No chilli cheese, mini-burgers or seven layer dips this night. This lemon cake was adapted from Ina Garten's recipe on the Food Network. Only difference is I added in the full 3/4 lemon juice to the cake, I'd do it again, it was a good mistake. I just requires you to juice more lemons. Also I used 5 mini loaf pans so it would be cuter and easier to give away.

Lemon Syrup Soak.jpg

Soaked Lemon cakes on a cooling rack with a cookie sheet underneath, easier to clean up.

Lemon Glaze.jpg
Madeleine's plated.jpg

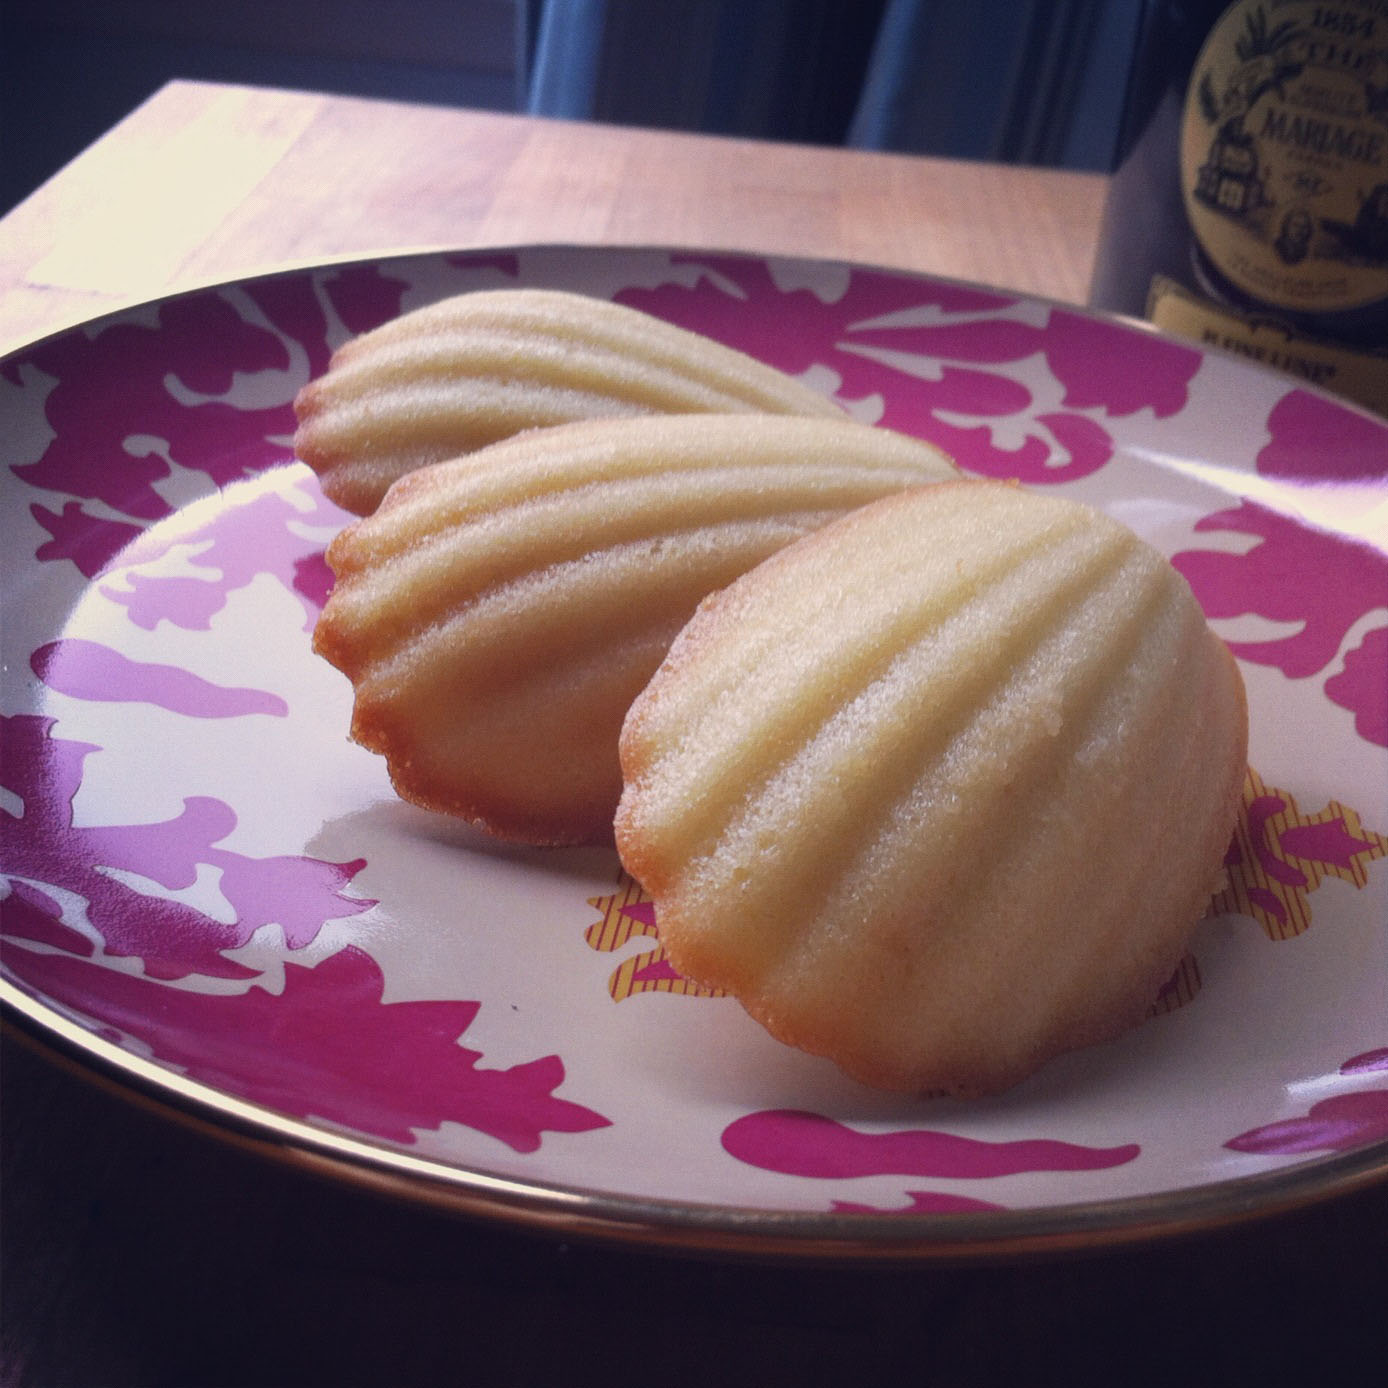
Next on my list to bake were Madeleine's. I'm kind of addicted to these tasty morsels. While they turn out spongy, I will continue to explore a crunchy version of these goodies.  For this recipe I like to use Martha Stewart's, this is from her cookbook.


Madeleine's.jpg

I couldn't find it online to link to, so the recipe is below with my added notes. Difference is I added 1 Tbsp of lemon zest and 1/4 tsp of almond extract. This recipe makes 36 Madeleines.

4 eggs
    1/4 tsp salt
    2/3 cup sugar
1 Tbsp of lemon zest
1/4 tsp of almond extract
    1 tsp pure vanilla extract
    1 cup sifted all-purpose flour
    1/4 pound (1 stick) unsalted butter, melted and cooled.
 
Preheat the over to 375F Degrees.
Make sure you butter and flour Madeleine pans. I do this even when I have non-stick Madeleine pans, just in case they decide to give me a hard time and not come up.
Beat the eggs, salt and sugar together until thick, this takes about 8 minutes.
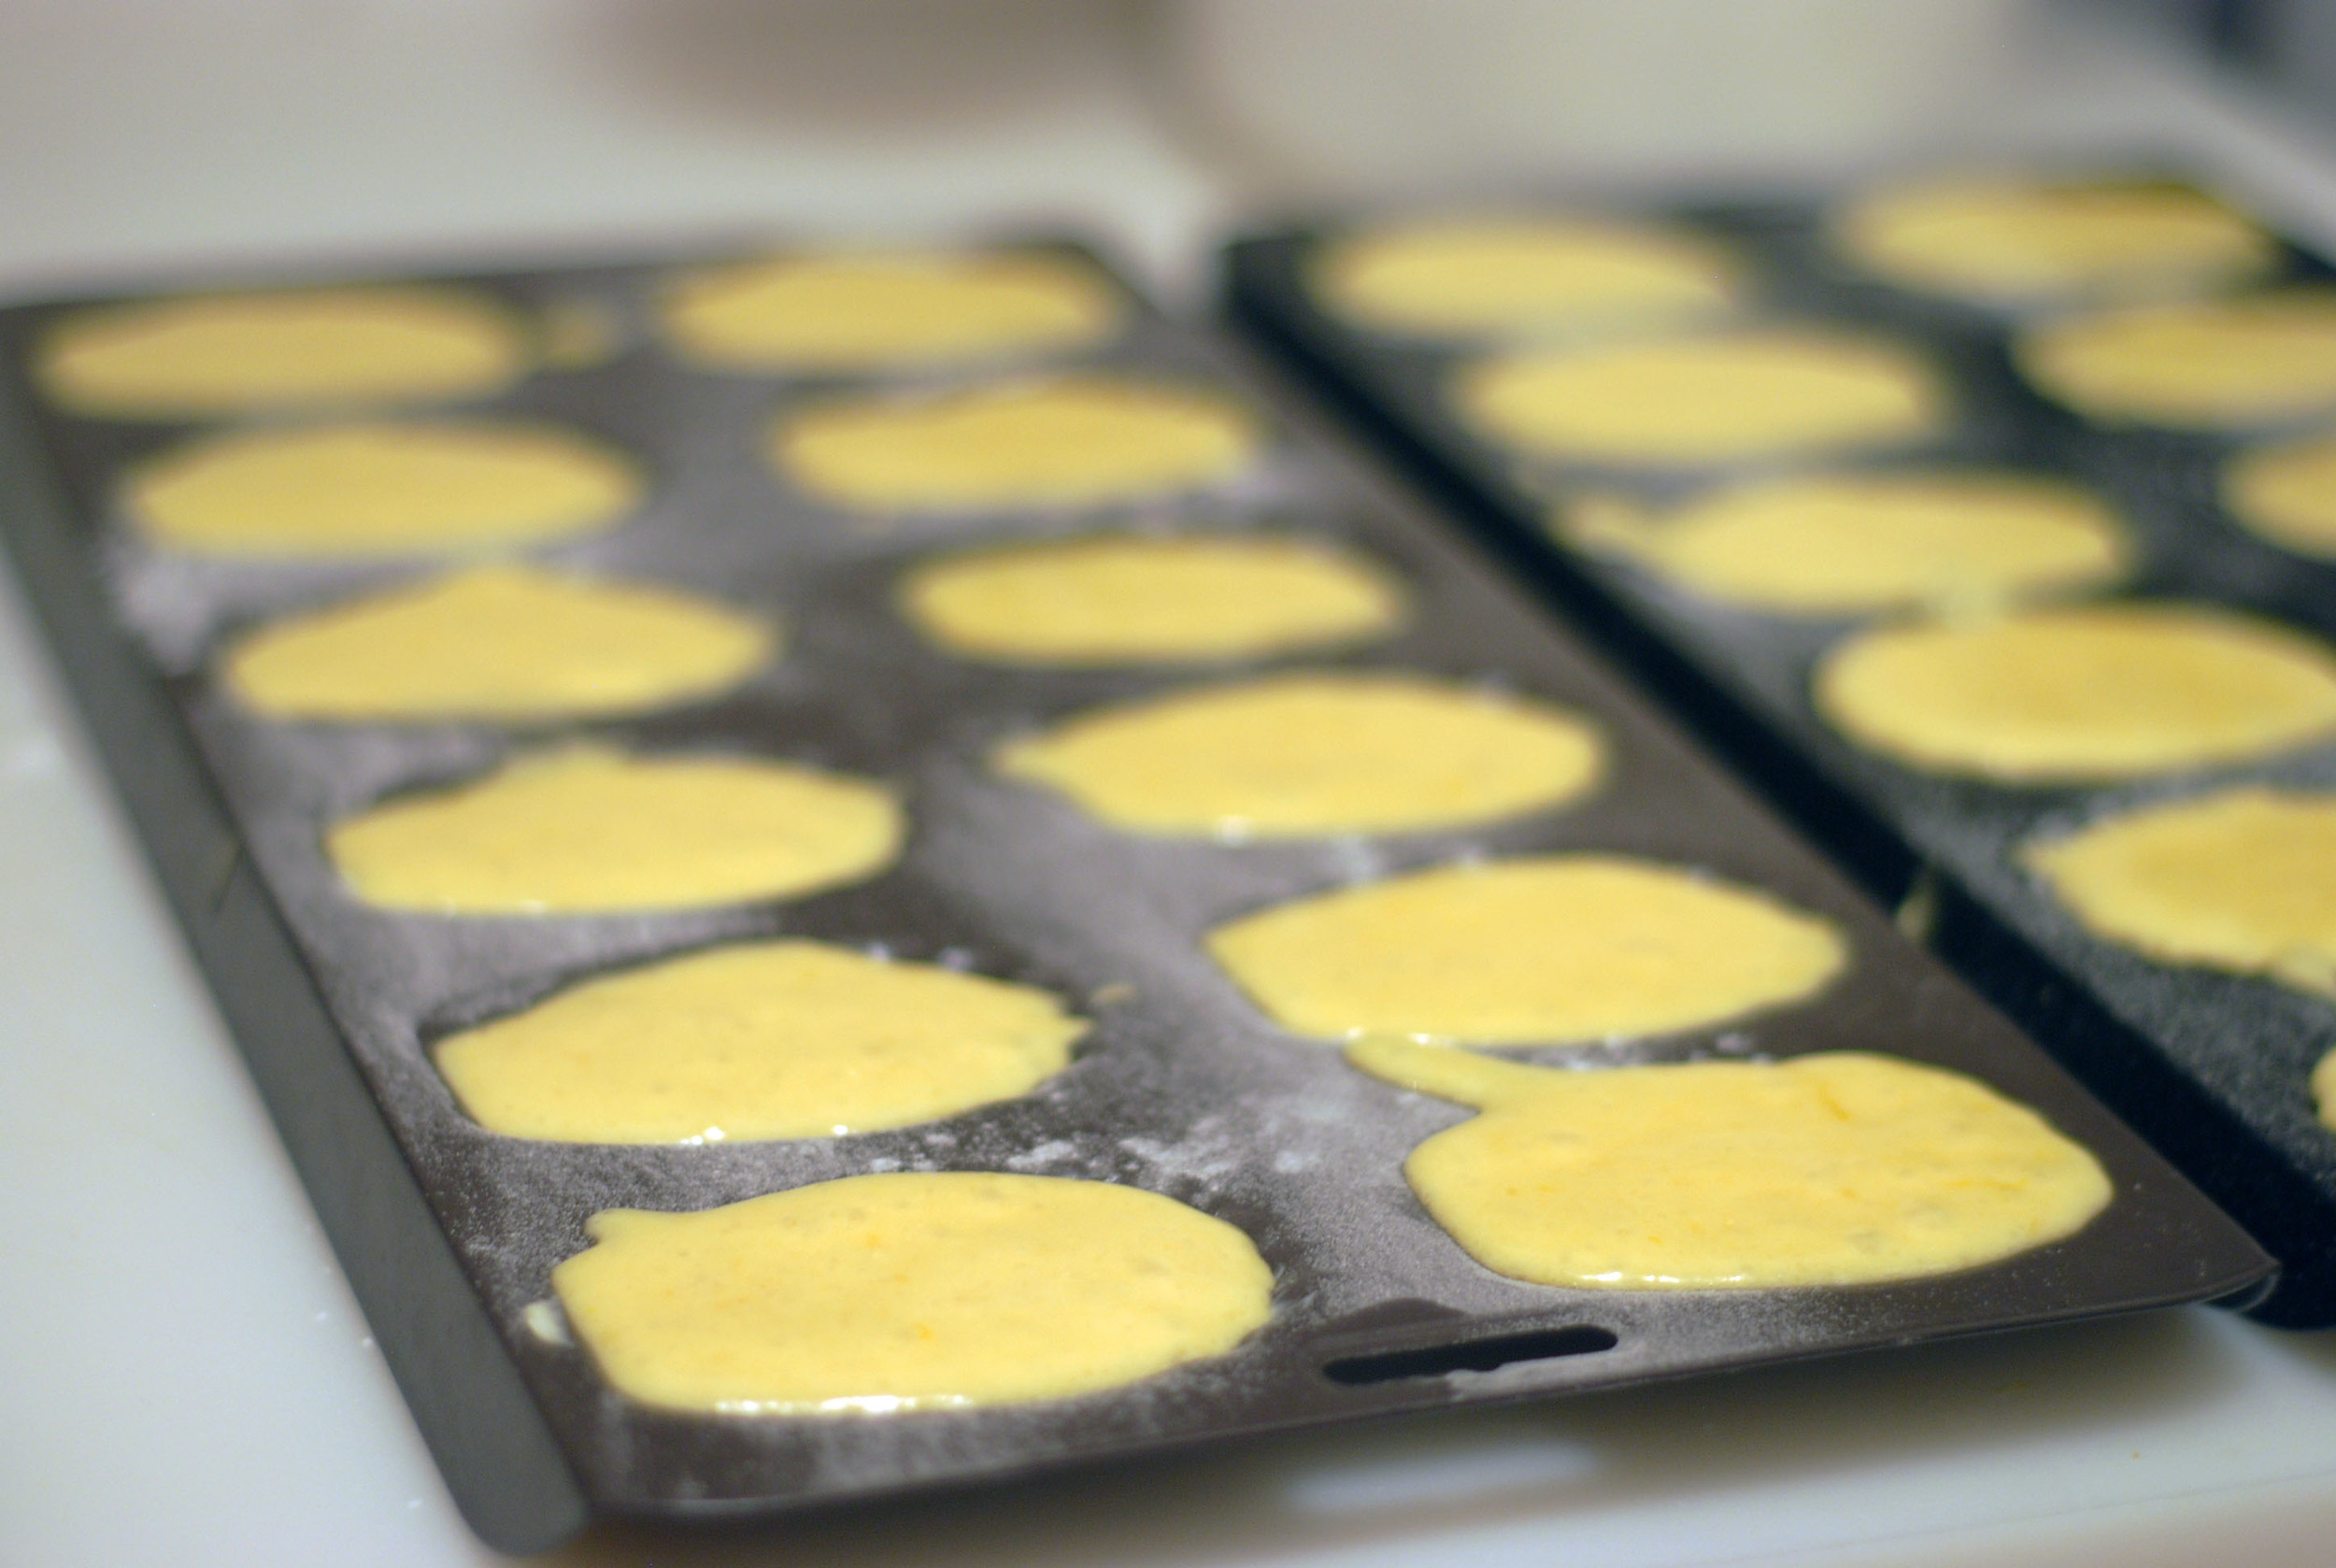
Add the lemon zest, almond extract and vanilla. Fold in the flour. Fold in the butter make sure this is incorporated as the butter tends to sink to the bottom of the bowl. Spoon the mixture into your Madeleine pans. Bake until golden, about 10 minutes. Remove from pans. Cool on racks. If your serving right away dust with confectioners sugar otherwise wait till your ready to serve them as the sugar soaks into the cookies.

Lemon Packages.jpg

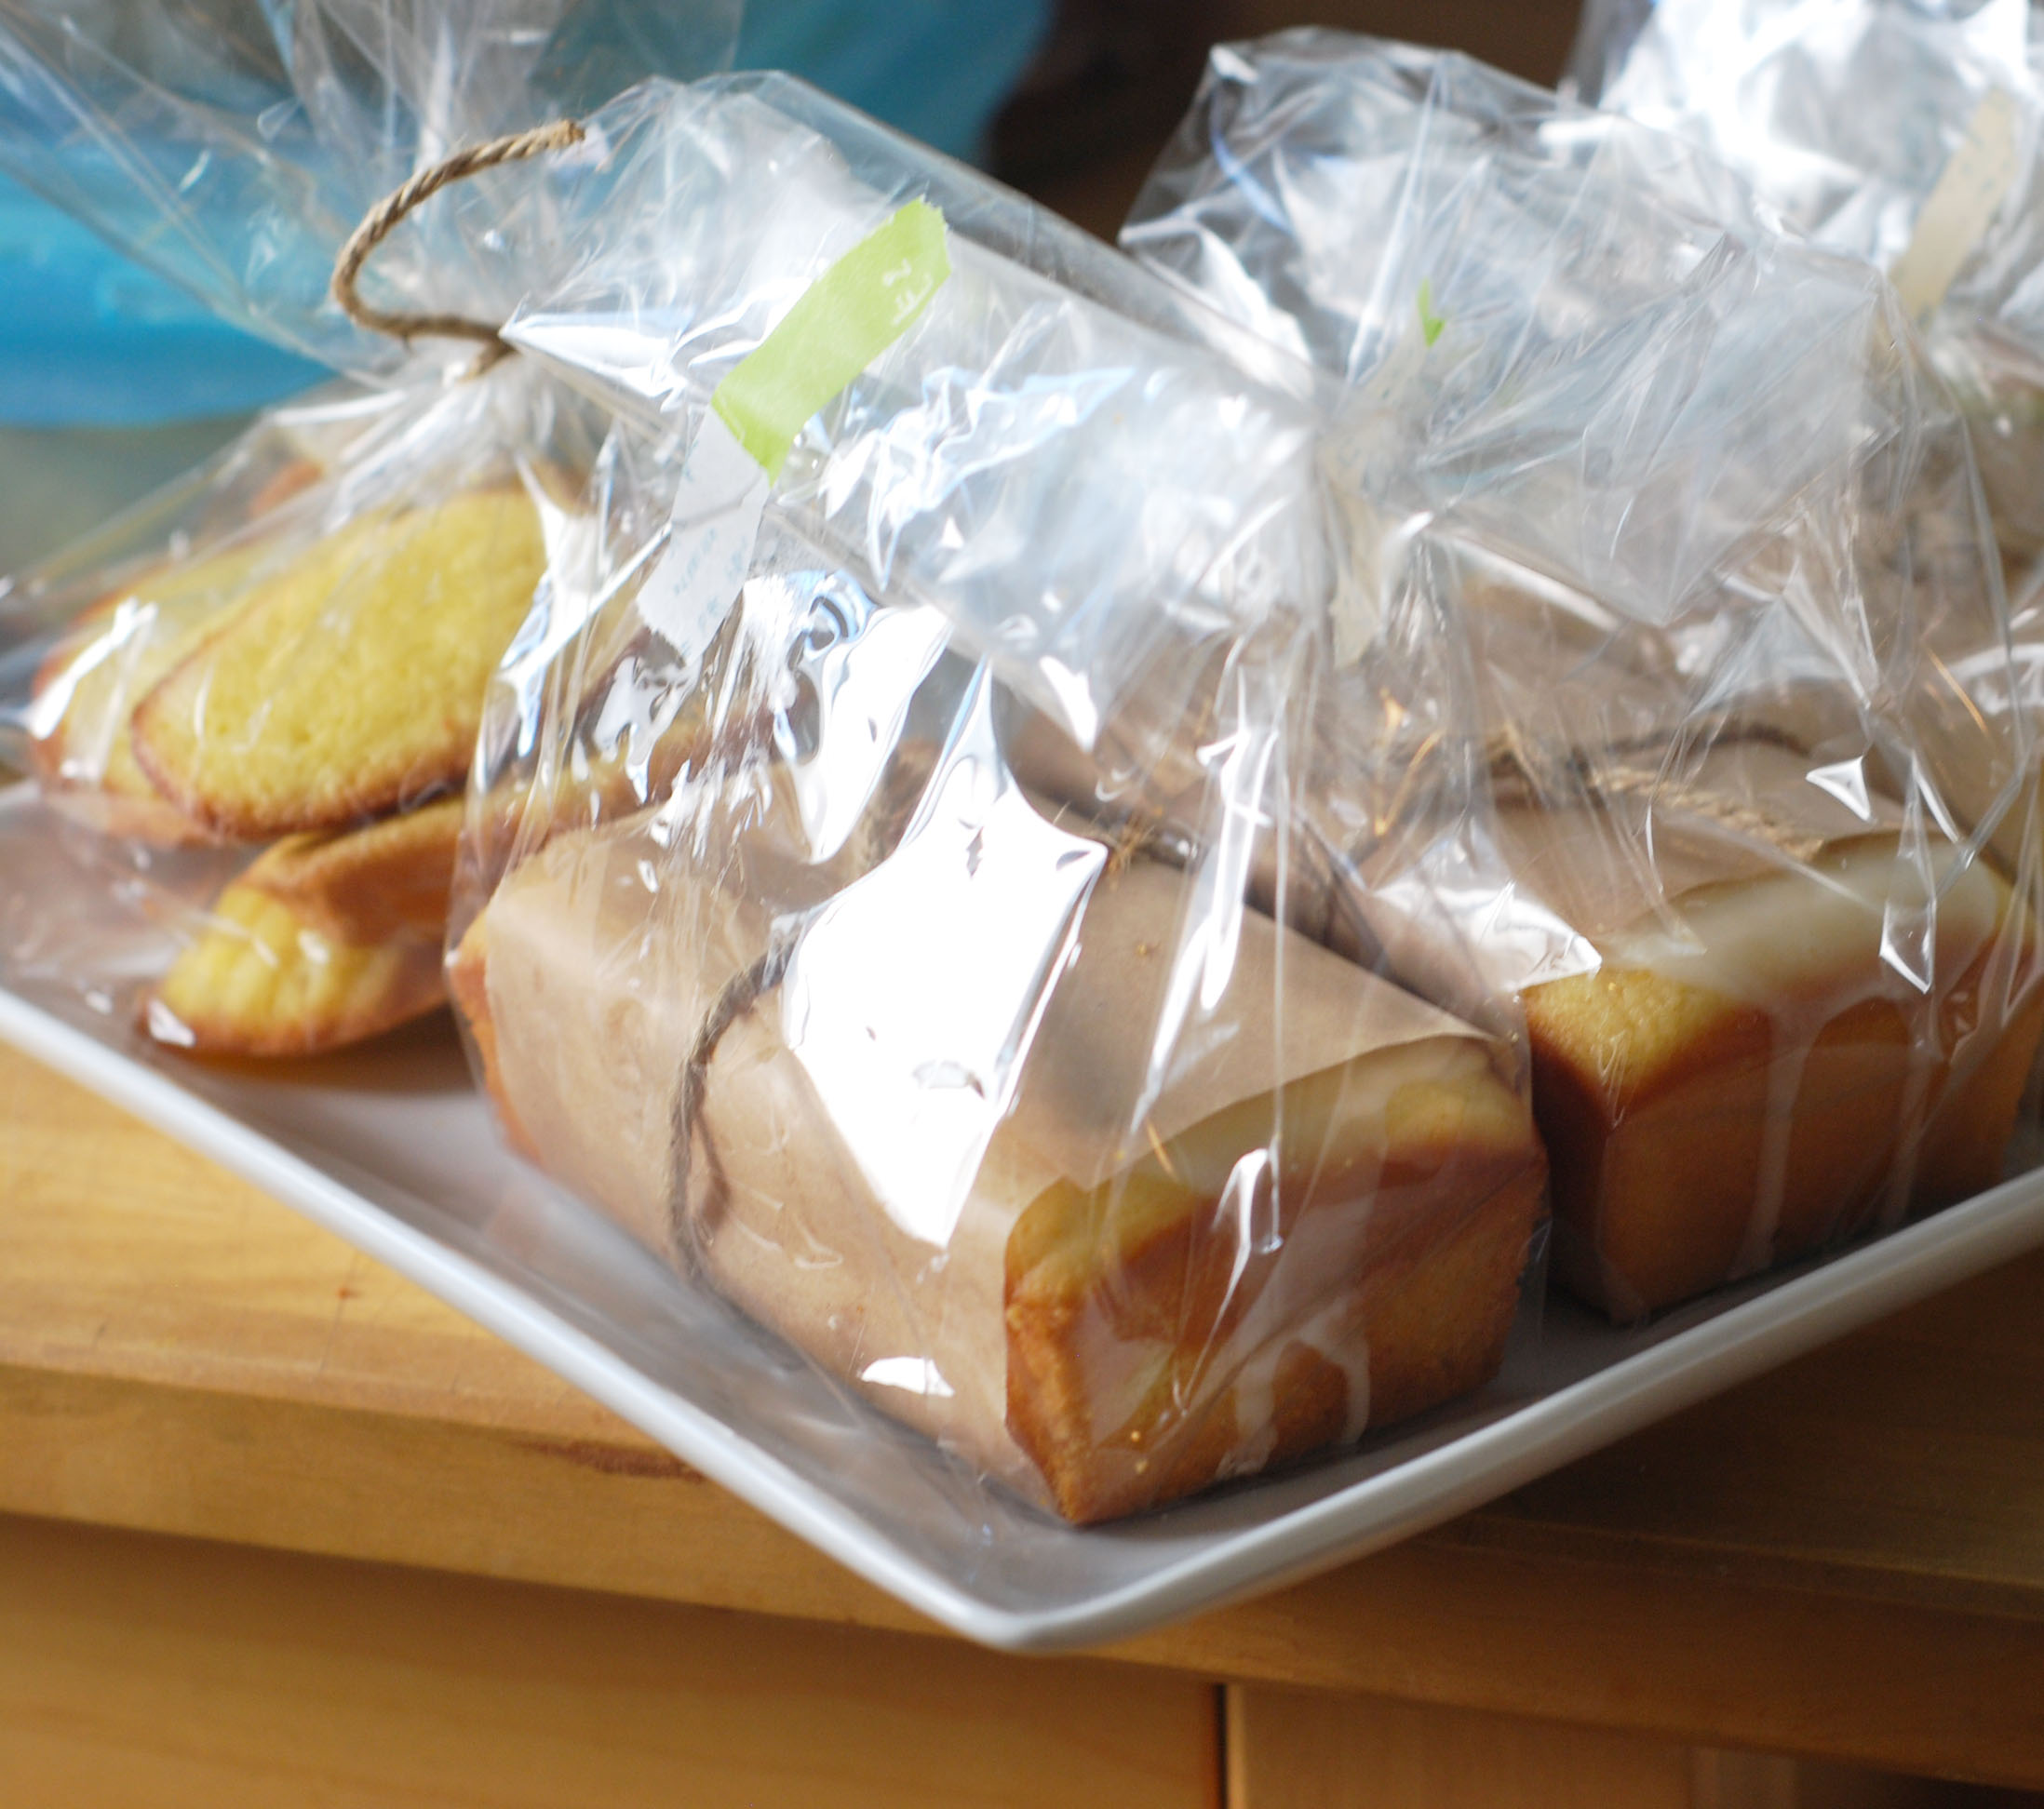
Madeleines and Lemon loaves packed and ready for delivery to my friends. 

Related Posts Plugin for WordPress, Blogger...

Posted in Sweets, Bake and tagged with Lemons, citrus, lemon, baking, sweets.

February 8, 2013 by Tanya Ponce.
  • February 8, 2013
  • Tanya Ponce
  • Lemons
  • citrus
  • lemon
  • baking
  • sweets
  • Sweets
  • Bake
  • 3 Comments
3 Comments

itsweet & savory itsweet & savory

Food+Travel+Life

Lifestyle blogger who loves coffee, architecture, local cultural interests, good food and travel stories.

  • Home
  • About Me
    • A Simply Raw Life
    • Donuts, Dresses, and Dirt
    • Oh Joy
    • david lebovitz
    • My Life at Playtime
    • Design Mom
    • Curbly
    • AltDesign
    • Peggy Wong
    • A Golden Afternoon
    • Eat, Drink + Be Merry
    • Dylan and Jeni Photography
    • Route 66
    • Cuba A Bittersweet Tale - Part I
    • Cuba A Bittersweet Tale - Part II
    • Cuba A Bittersweet Tale - Part III
    • Cuba A Bittersweet Tale - Part IV
    • Cuba A Bittersweet Tale - Part V
    • Cuba A Bittersweet Tale VI
    • Cuba A Bittersweet Tale - Part VII
    • Cuba A Bittersweet Tale - Part VIII
Mom It Forward: Contributor
Follow on Bloglovin
  • Bake
  • Baking
  • Coffee
  • Cuba
  • Food
  • LA Local
  • Life
  • Make
  • NY Local
  • Play
  • read
  • Sweets
  • Things
  • Travel
  • US City
NYSE for SMPW. Did you get that. New location for us, was a lovely day. Nice to be back down here doing our volunteer work. Always fulfulling.
This was my pre-meal to get me fed and courage to go network with people I don’t know but want to know. Finally got to @barpisellino for their classic Negroni. Did not disappoint.
Quick trip down to the city tonight to Network. So out of practice but was good to make some work connections. Chrysler Building and Grand Central Station pics never get old.
When the light hits your new coffee mug just perfectly. Pottery by @lark_potters
NYSE for SMPW. Did you get that. New location for us, was a lovely day. Nice to be back down here doing our volunteer work. Always fulfulling. This was my pre-meal to get me fed and courage to go network with people I don’t know but want to know. Finally got to @barpisellino for their classic Negroni. Did not disappoint. Quick trip down to the city tonight to Network. So out of practice but was good to make some work connections. Chrysler Building and Grand Central Station pics never get old. When the light hits your new coffee mug just perfectly. Pottery by @lark_potters
twitter
pinterest
facebook

Powered by Squarespace. Content is for demonstration purposes only.